Introduction
There’s nothing quite like the aroma of freshly baked rolls wafting through the kitchen—warm, buttery, and irresistibly soft.
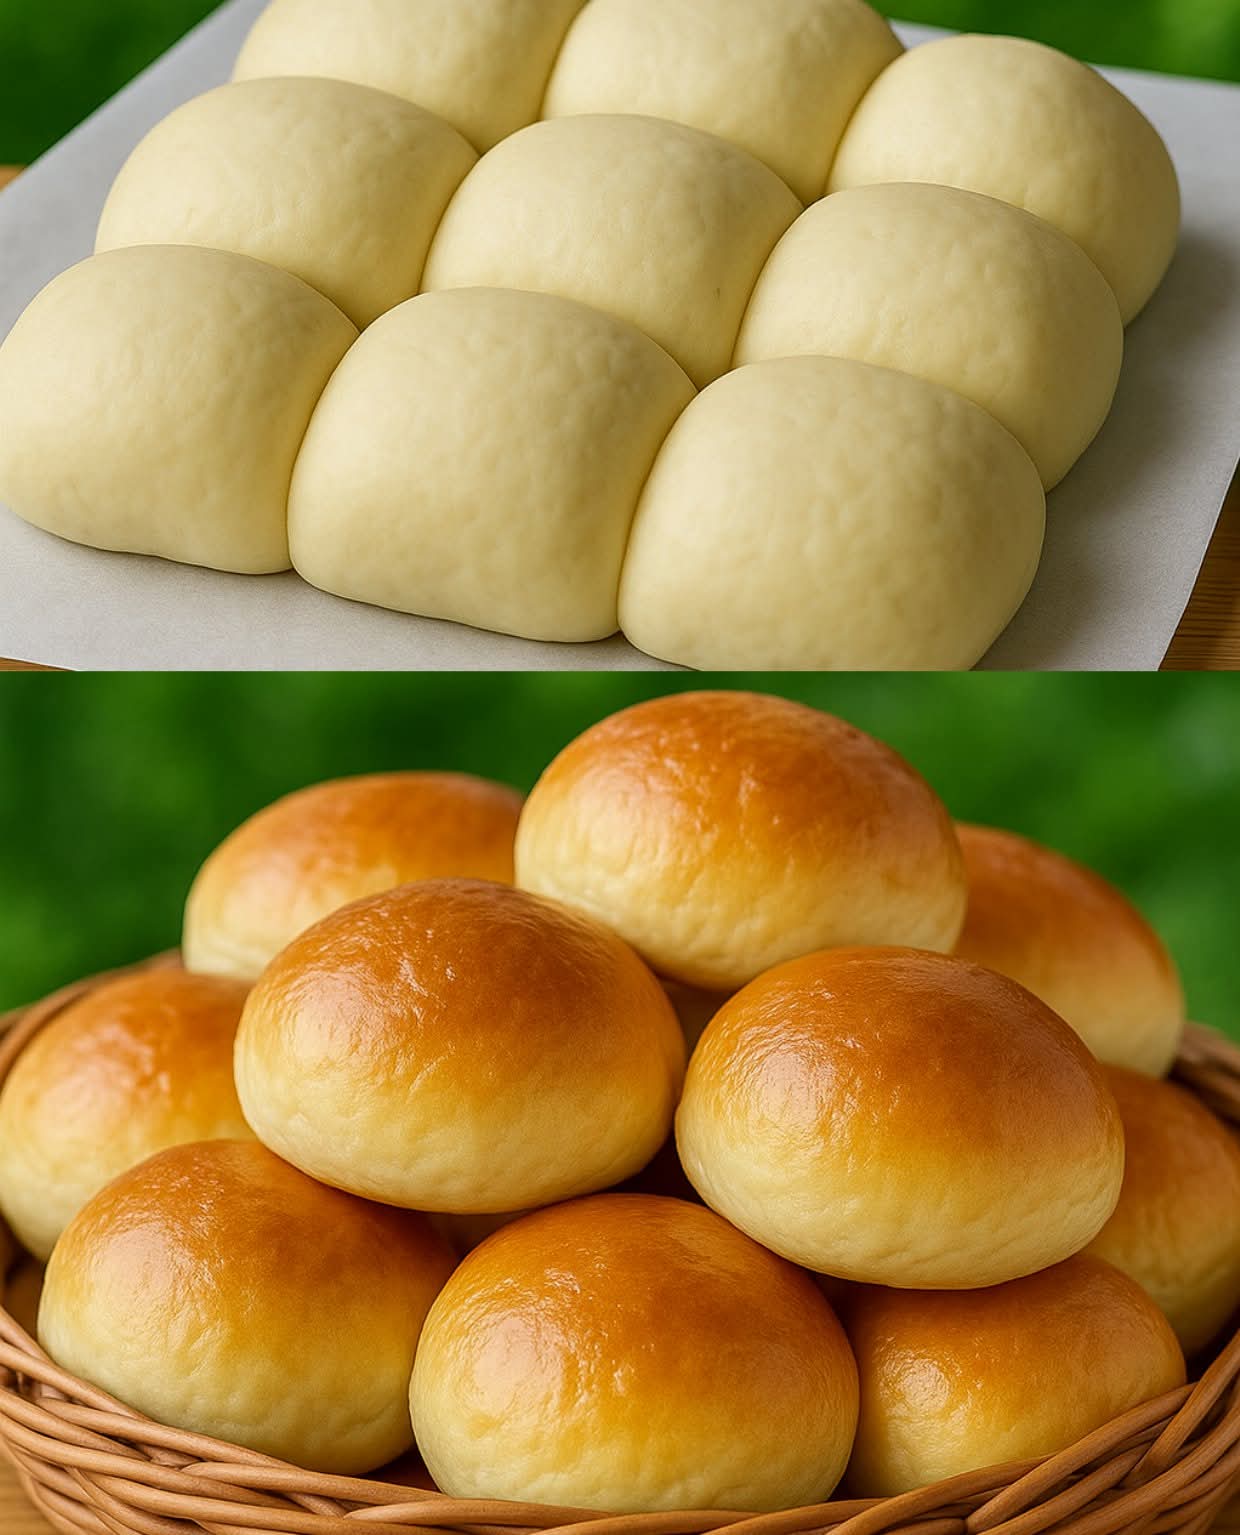
This classic recipe yields golden, pillowy rolls that are perfect for any occasion, whether it’s a holiday feast, a family dinner, or just a cozy weekend treat. With simple ingredients and straightforward steps, even beginner bakers can achieve bakery-quality results.
The dough is lightly sweetened, enriched with milk and eggs, and finished with a glossy butter glaze for that extra touch of indulgence.
What makes this recipe truly special is its versatility. You can keep it classic for a timeless side dish or experiment with sweet and savory variations to suit your taste. The process—from kneading the dough to watching it rise—is as satisfying as the first bite.
These rolls are best enjoyed fresh from the oven, but they also store well, making them a practical choice for meal prep. Whether slathered with jam, dipped in soup, or eaten plain, they’re sure to become a household favorite.
🍞 Ingredients:
- 4 cups all-purpose flour (plus extra for dusting)
- 2 teaspoons instant or active dry yeast
- 3 tablespoons granulated sugar
- 1¼ cups warm milk (not hot)
- ¼ cup neutral oil (like canola or sunflower)
- 2 large eggs
- ½ teaspoon salt
🥚 For Brushing:
- 1 egg white + 2 tablespoons water (for egg wash before baking)
- 2 tablespoons melted butter (to brush after baking)
👩🍳 Directions:
- Activate the yeast: In a large bowl, combine the warm milk, sugar, and yeast. Let it sit for 5–10 minutes until foamy (skip this step if using instant yeast).
- Mix the dough: Add the eggs, oil, salt, and flour to the yeast mixture. Mix until a soft dough forms. Knead for about 8–10 minutes by hand or 5 minutes using a dough hook until smooth and elastic.
- First rise: Place the dough in a lightly oiled bowl, cover, and let it rise in a warm place for 1 to 1½ hours or until doubled in size.
- Shape the rolls: Punch down the dough and divide it into equal portions (about 12–15 pieces). Shape into balls and place on a greased or parchment-lined baking tray.
- Second rise: Cover the shaped rolls loosely with a kitchen towel and let them rise again for 30–45 minutes.
- Egg wash: Preheat your oven to 375°F (190°C). Brush the tops of the rolls with the egg white + water mixture.
- Bake: Bake for 15–18 minutes, or until golden brown and baked through.
- Final touch: As soon as they come out of the oven, brush the tops with melted butter for extra softness and shine. ✨
🍽️ Best enjoyed warm, slathered with butter or jam — but honestly, they’re perfect on their own!
📌 Save this recipe for your next family meal or holiday spread. It never fails to bring smiles!
Yield: ~12-15 rolls
Prep Time: 20 mins
Rise Time: 2 hrs
Bake Time: 18 mins
Calories: ~180 per roll
Variations
For a sweeter twist, try adding a cinnamon-sugar filling by rolling out each dough portion into a rectangle, brushing with melted butter, and sprinkling a mix of cinnamon and sugar before shaping into rolls.
You could also incorporate raisins or chopped nuts for added texture.
If you prefer savory rolls, mix grated cheese, garlic powder, and herbs like rosemary or thyme into the dough before shaping. For a festive touch, add a handful of dried cranberries and orange zest to the dough for a holiday-friendly version.
For a healthier alternative, substitute half the all-purpose flour with whole wheat flour, though keep in mind this may yield a denser texture.
You can also use honey or maple syrup instead of granulated sugar for a more natural sweetness.
If dairy-free, swap the milk for almond or oat milk and use a plant-based butter substitute for brushing. Experimenting with different oils, like coconut oil, can also add a subtle flavor variation.
For a fun presentation, try shaping the dough into knots or braids instead of traditional rolls. Another creative idea is to make stuffed rolls by enclosing a small piece of chocolate, a spoonful of Nutella, or even a cube of cheese inside each dough ball before baking.
Miniature versions of these rolls are perfect for parties—simply divide the dough into smaller portions and adjust the baking time accordingly.
Tips
Ensure your milk is warm but not hot, as excessive heat can kill the yeast and prevent the dough from rising properly.
A good test is to dip your finger in the milk—it should feel comfortably warm, similar to bath water.
If using active dry yeast instead of instant yeast, proofing it in the warm milk and sugar mixture is essential to activate it before adding the remaining ingredients.
Kneading the dough thoroughly is key to developing gluten, which gives the rolls their soft, fluffy texture.
If kneading by hand, the dough should become smooth and slightly tacky but not overly sticky.
If it sticks too much, add a little more flour, but avoid adding too much, as this can make the rolls dense.
Using a stand mixer with a dough hook can save time and effort, but keep an eye on the dough’s consistency.
For the best rise, place the dough in a warm, draft-free environment. If your kitchen is cool, try placing the bowl near a preheating oven or in a slightly warmed (then turned off) microwave.
Covering the dough with a damp kitchen towel or plastic wrap prevents it from drying out during rising.
If you’re short on time, you can let the dough rise in the refrigerator overnight for a slower fermentation, which can enhance flavor.
How to Store
Freshly baked rolls are best enjoyed the same day, but if you have leftovers, let them cool completely before storing.
Place them in an airtight container or resealable plastic bag at room temperature for up to 2 days.
To prevent them from becoming dry, you can add a piece of bread or a damp paper towel to the container to maintain moisture.
For longer storage, freeze the rolls after they’ve cooled. Wrap them individually in plastic wrap and then place them in a freezer-safe bag or container. They can be frozen for up to 3 months.
When ready to eat, thaw at room temperature or reheat in a 350°F (175°C) oven for 5–10 minutes until warmed through. Brushing them with a little butter after reheating will restore their softness.
If you want to prepare the dough ahead of time, you can refrigerate it after the first rise for up to 24 hours. When ready to bake, let the dough come to room temperature, then proceed with shaping and the second rise.
This method is great for planning ahead for brunches or dinners, as the rolls can be freshly baked just before serving.
Conclusion
These homemade rolls are a versatile and crowd-pleasing addition to any meal. Whether you stick to the classic recipe or experiment with variations, their soft, buttery texture and slight sweetness make them irresistible. They’re perfect for holidays, family gatherings, or even as a simple treat to enjoy with your morning coffee.
With a little practice, you’ll find the process of making these rolls both rewarding and enjoyable. The aroma of freshly baked bread filling your kitchen is unbeatable, and the smiles they bring are worth every minute of effort. Save this recipe, share it with friends, and make it a staple in your baking repertoire—you won’t regret it!