### **Introduction**
Samosa and spring roll sheets are versatile wrappers used to create crispy, delicious snacks loved by many. While store-bought sheets are convenient, making them at home ensures freshness and allows you to control the ingredients.
With just a few simple ingredients and some practice, you can create thin, flexible sheets perfect for wrapping your favorite fillings. This guide will walk you through the process, offering tips and variations to help you master the art of making these sheets at home.
Making samosa and spring roll sheets at home is a rewarding process that ensures freshness and quality. Here’s a detailed step-by-step guide to help you create perfect sheets for your snacks:
### **Ingredients**
– 1 cup all-purpose flour (maida)
– 1/4 teaspoon sugar (optional, for a slight sweetness)
– 1/4 teaspoon salt (enhances flavor)
– 1 and 1/2 cups water (adjust as needed for a thin batter)
– 1 teaspoon oil (optional, for smoother sheets)
### **Instructions**
#### **1. Prepare the Batter**
1. In a large mixing bowl, combine the all-purpose flour, sugar, and salt.
2. Gradually add water while whisking continuously to avoid lumps. The batter should be thin and smooth, similar to the consistency of crepe batter.
3. (Optional) Add 1 teaspoon of oil to the batter for a smoother texture and easier cooking.
4. Let the batter rest for 10–15 minutes to allow the flour to hydrate fully.
#### **2. Cook the Sheets**
1. Heat a non-stick skillet or flat pan over medium heat. Lightly grease the pan with oil if needed, though a good non-stick pan may not require it.
2. Stir the batter well before using. Pour a small ladleful of batter into the center of the pan.
3. Quickly tilt and swirl the pan to spread the batter into a thin, even layer. The goal is to create a paper-thin sheet.
4. Cook for about 30–45 seconds, or until the edges begin to lift and the surface looks dry.
5. Carefully peel the sheet off the pan using a spatula or your fingers. Avoid overcooking, as the sheets should remain flexible for folding.
#### **3. Remove and Store**
1. Place the cooked sheet on a plate or flat surface. Repeat the process to make more sheets.
2. To prevent sticking, place parchment paper or a clean kitchen towel between each sheet.
3. Once cooled, the sheets are ready to use for samosas, spring rolls, or other snacks
Begin by combining the flour, salt, and sugar in a mixing bowl. Gradually add water while whisking to create a smooth, lump-free batter. The consistency should be thin, similar to crepe batter. Let the batter rest for a few minutes to ensure the flour is fully hydrated.
Heat a non-stick skillet over medium heat and lightly grease it if needed. Pour a small amount of batter into the skillet and quickly swirl it around to form a thin, even layer. Cook for about 30 seconds or until the edges lift and the surface looks dry. Avoid flipping the sheet, as it should remain pliable for folding.
Once cooked, carefully peel the sheet off the skillet and place it on a plate. Repeat the process, stacking the sheets with parchment paper or cling film between them to prevent sticking. Your homemade sheets are now ready to be filled and cooked into samosas or spring rolls.
### **How to Make**
Making samosa and spring roll sheets requires patience and practice. The key is to achieve the right consistency for the batter—thin and runny, but not watery. This ensures the sheets are delicate and easy to fold. When cooking, maintain medium heat to avoid burning or undercooking the sheets. Swirling the batter quickly in the skillet is crucial for creating an even, thin layer.
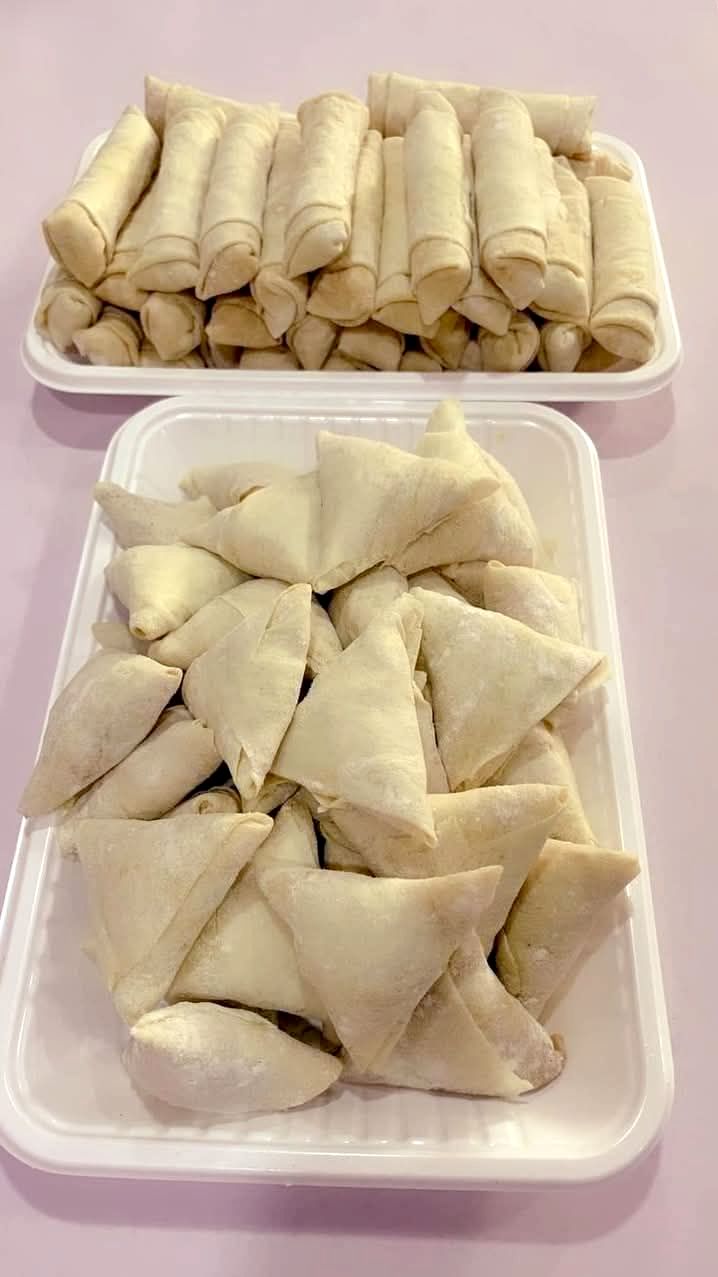
For samosas, cut the sheets into triangles or rectangles, fill them with your desired stuffing, and fold them into the classic triangular shape. For spring rolls, place the filling on one end of the sheet, fold the sides, and roll tightly, sealing the edge with a flour-water paste. Both can be deep-fried or baked until golden and crispy.
With practice, you’ll be able to make sheets that rival store-bought ones in quality. The process may seem tricky at first, but the results are well worth the effort. Homemade sheets not only taste better but also allow you to customize the thickness and size to suit your preferences.
### **Variations**
For a healthier alternative, you can replace all-purpose flour with whole wheat flour or a mix of both. This adds a nutty flavor and increases the fiber content of the sheets. If you’re gluten-free, try using rice flour or a gluten-free flour blend, though the texture may differ slightly.
To add flavor, incorporate spices like turmeric, cumin, or chili powder into the batter. This works especially well for samosa sheets, as it enhances the overall taste of the snack. For a richer texture, you can also add a small amount of milk or yogurt to the batter.
If you’re making spring roll sheets, consider adding a touch of cornstarch to the batter. This makes the sheets crispier when fried. You can also experiment with adding finely chopped herbs or spinach puree for a colorful and flavorful twist.
### **Tips**
Achieving the perfect consistency for the batter is crucial. If it’s too thick, the sheets will turn out dense and chewy. If it’s too thin, they may tear easily. Adjust the water gradually until you reach the right balance. Letting the batter rest for 10–15 minutes ensures the flour is fully hydrated, resulting in smoother sheets.
When cooking, use a non-stick skillet and maintain medium heat. Swirling the batter quickly and evenly is key to creating thin, uniform sheets. If the skillet is too hot, the batter will cook too fast and create uneven layers. If it’s too cool, the sheets may stick or tear.
Practice makes perfect. Don’t be discouraged if your first few sheets aren’t perfect. With time, you’ll develop a feel for the right amount of batter to use and the best technique for swirling it in the skillet.
### **How to Store**
Once cooled, stack the sheets with parchment paper or cling film between them to prevent sticking. Store them in an airtight container in the refrigerator for up to 2 days. For longer storage, freeze the sheets in a single layer before stacking them. They can be frozen for up to a month. When ready to use, thaw them at room temperature or in the refrigerator.
### **Conclusion**
Making samosa and spring roll sheets at home is a simple and rewarding process. With just a few basic ingredients, you can create thin, flexible wrappers that elevate your snacks to the next level. Homemade sheets not only taste fresher but also allow you to customize them to suit your preferences.
Whether you’re making crispy samosas or delicate spring rolls, these sheets are a versatile addition to your culinary repertoire. With practice and a little patience, you’ll be able to master the technique and enjoy the satisfaction of creating these snacks entirely from scratch. So, roll up your sleeves and start making your own sheets today!